| s/y Nine of Cups Repainting/Refurbishing the Mast Opua, NZ 2010 |
| Painting the Mast ... this year's big project |
One particularly large project we've put off
for several years now is pulling the mast. It
needed stripping, repainting and rewiring.
We figured now was as good a time as any
and after this past winter, sooner was better
than later. We solicited several quotes from
several different parts of New Zealand, but
the quotes we got from the Opua tradesmen
were the best, so here we stayed. David
prepped the mast by removing all running
rigging and removing cotter pins and
loosening turnbuckles from shrouds and
stays. He stripped the boom of its hardware
and we carried it to the boatyard. All wiring
which runs through the mast
(radar/lights/etc)was disconnected. We
were getting serious. We headed to the
slipwell where a huge crane was waiting
along with the rigger and his crew.
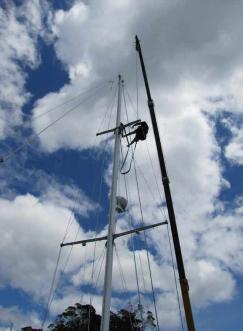
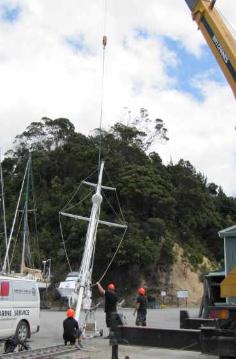
A rigger adjusts the crane sling on the
mast for hoisting.
mast for hoisting.
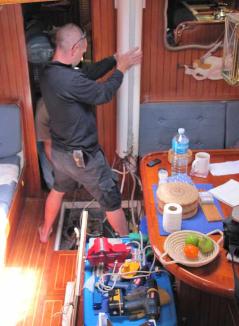
David helps the rigger get the mast
loose below deck as the crane starts
hoisting.
loose below deck as the crane starts
hoisting.
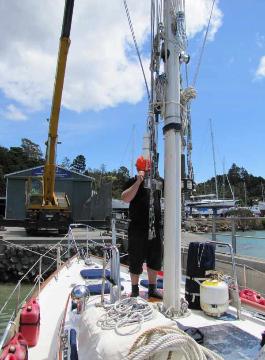
Slowly, but surely, the mast came up,
up, up...unstepped after having been
seated in place for nearly 25 years.
up, up...unstepped after having been
seated in place for nearly 25 years.
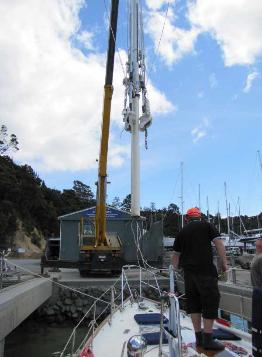
Once off the boat, the crane moved the
mast to the able hands of the waiting crew.
mast to the able hands of the waiting crew.
Special trolleys specifically designed to
hold a mast, allowed the crew to move
it easily across the boatyard to its
temporary resting place for stripping of
hardware and preparation for painting.
hold a mast, allowed the crew to move
it easily across the boatyard to its
temporary resting place for stripping of
hardware and preparation for painting.
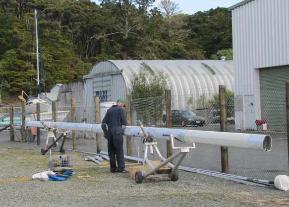
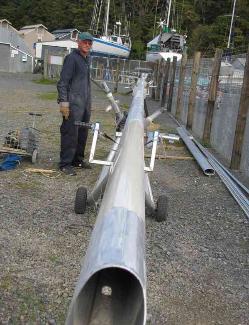
Removing all the hardware from the mast and
then stripping the paint was quite a chore. We
took photographs of all hardware in place
before we removed it in hopes that we'll figure
out where everything goes when it's time to
reassemble it all. David's most useful tool during
the process? An impact driver and a very big
hammer. He went through lots of bits!
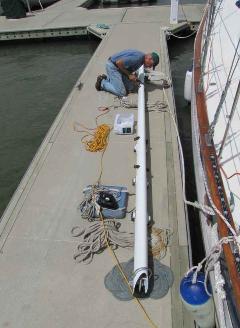
The 63' mast looks about 200' long
when you're getting ready to strip the
paint off it.
when you're getting ready to strip the
paint off it.
It's a big, big project and it's almost
done..just a bit more to do. More photos
and explanatory text update to follow.
Check back soon.
done..just a bit more to do. More photos
and explanatory text update to follow.
Check back soon.
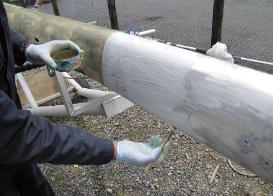
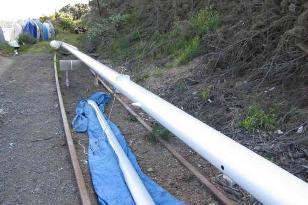
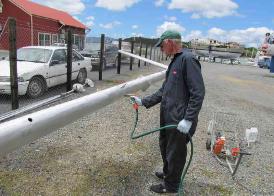
Once the sanding was finally complete, the
mast got a good hosing down with fresh
water to clean off all the loose dust and
paint particles.
mast got a good hosing down with fresh
water to clean off all the loose dust and
paint particles.

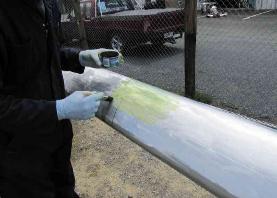
Very soon after stripping, David applied an
acid etching wash which removes all the
surface corrosion. Since the mast is so long
and time is critical, he did it in sections.
acid etching wash which removes all the
surface corrosion. Since the mast is so long
and time is critical, he did it in sections.
The acid wash must be rinsed off. Within 60
minutes, Aludine, a yellowish liquid, must be
applied which temporarily seals the surface.
minutes, Aludine, a yellowish liquid, must be
applied which temporarily seals the surface.
We were a bit too aggressive with the sander
when removing the paint and an extra step of
filling and fairing became necessary. After
that, three coats of high build primer were
applied by the paint shop.
when removing the paint and an extra step of
filling and fairing became necessary. After
that, three coats of high build primer were
applied by the paint shop.
Now the mast was moved into the paint
shed and work began on the boom and
spreaders. Four coats of primer were
applied by hand and went through the
sanding, filling, fairing process all over again.
shed and work began on the boom and
spreaders. Four coats of primer were
applied by hand and went through the
sanding, filling, fairing process all over again.
All painted, it cured in the paint shed for a day or
two and then was moved back to the yard (along
the old railroad tracks), out of harm's way (and
everyone else's)so David could start the
challenging process of rerigging.
two and then was moved back to the yard (along
the old railroad tracks), out of harm's way (and
everyone else's)so David could start the
challenging process of rerigging.
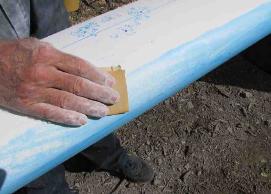
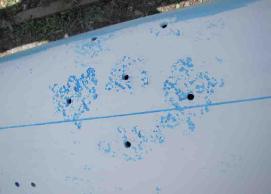
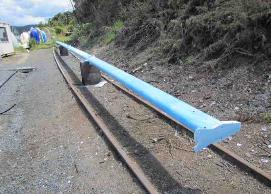
David then applied a blue wash called a
sanding guide coat.
sanding guide coat.
This product is once again sanded off, but
helps to show uneven areas which need
more filling and/or fairing.
helps to show uneven areas which need
more filling and/or fairing.
| Mast. A vertical spar, set in a ship, from which sails, or other spars carrying sails are hung. |
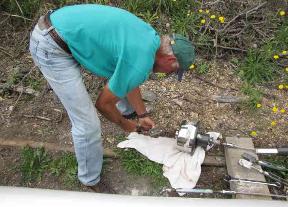
Bit by bit, piece by piece, parts disappeared
from the plastic bins in the saloon and
reappeared on the mast in their proper places.
Above, reassembly of the staysail furler.
from the plastic bins in the saloon and
reappeared on the mast in their proper places.
Above, reassembly of the staysail furler.
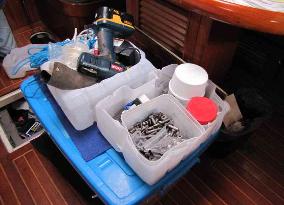
We buy water in 10-liter jugs. When empty
and slit in two, they make excellent plastic
bins for holding parts and tools.
and slit in two, they make excellent plastic
bins for holding parts and tools.
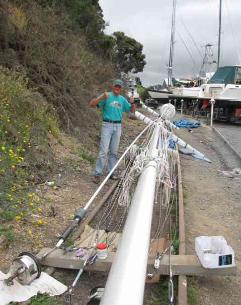
At last, after many long, hard days of
work, the re-rigging was complete.
We celebrated with an afternoon trip
to Russell for an ice cream cone.
work, the re-rigging was complete.
We celebrated with an afternoon trip
to Russell for an ice cream cone.
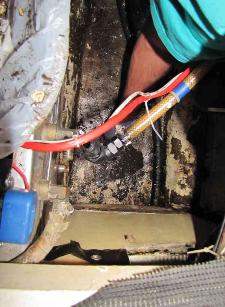
The area around the mast base sported
25 years of dust, grime and sludge
which needed to be cleaned out.
25 years of dust, grime and sludge
which needed to be cleaned out.
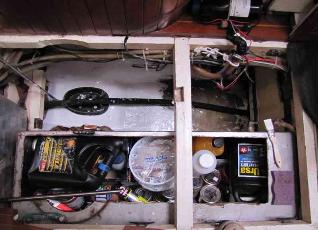
Once cleaned out and washed down with acetone,
David applied two coats of fresh white paint which
certainly made quite an improvement.
David applied two coats of fresh white paint which
certainly made quite an improvement.
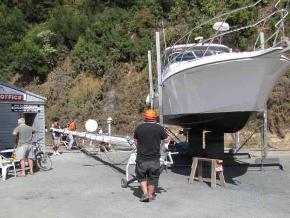
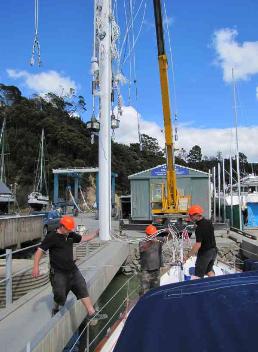
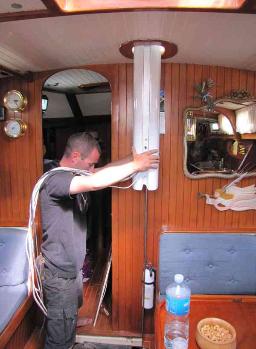
During the summer season, the slipwell for the
TravelLift is busy all the time so we had to wait
for an available time slot and coordinate that with
the availability of the crane. At last, the day
came. Above, they move the mast to the slipwell.
TravelLift is busy all the time so we had to wait
for an available time slot and coordinate that with
the availability of the crane. At last, the day
came. Above, they move the mast to the slipwell.
The crane began lowering the mast...
shrouds, stays and furlers gently swaying
as they maneuvered the mast and
dropped it back into place.
shrouds, stays and furlers gently swaying
as they maneuvered the mast and
dropped it back into place.
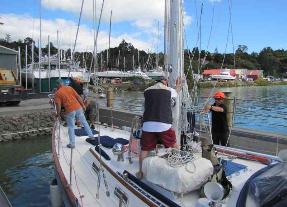
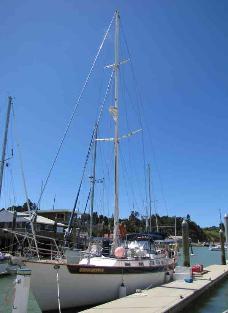
As soon as the mast was in place, everyone
hurried to attach stays and shrouds in place to
steady it while we moved back to our berth.
hurried to attach stays and shrouds in place to
steady it while we moved back to our berth.
Rob, the rigger, clambered up the mast to
detach the crane sling and we were on our way.
detach the crane sling and we were on our way.
We were quite fortunate that it was such a
fine day with only a light breeze. Though
the current was quite strong, we had lots
of help. Mark & Brandy on "Restless"
and Kevin on "Extravagant" came over to
lend a hand. Thanks to their help and the
luck of the gods, we managed to leave
our berth, get into the slipwell, step the
mast and return to the berth with no
problems at all...all within an hour's time.
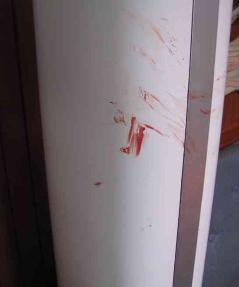
The job's not done well unless some
blood is spilled. This time it was Mark's.
blood is spilled. This time it was Mark's.
| Cups is a sailboat again! |
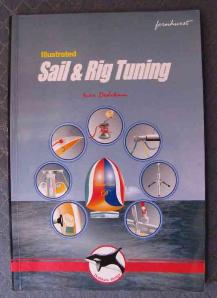
Illustrated Sail & Rig Tuning by Ivar
Dedekam is a good reference book for
tuning the rig. (ISBN1898660670)
Dedekam is a good reference book for
tuning the rig. (ISBN1898660670)
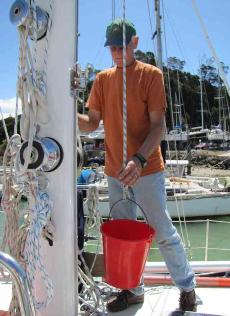
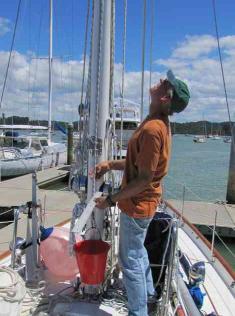
David wasted no time and began the
static tuning as soon as we were all
snug back in our berth.
static tuning as soon as we were all
snug back in our berth.
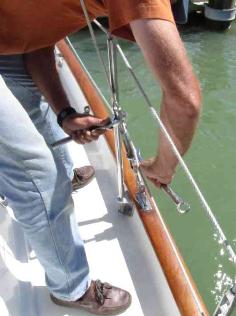
First things first...setting the rake of the
mast. The rake is the angle at which the
mast leans aftward.
mast. The rake is the angle at which the
mast leans aftward.
Tightening the starboard cap and
intermediate shrouds.
intermediate shrouds.
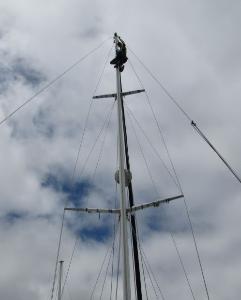
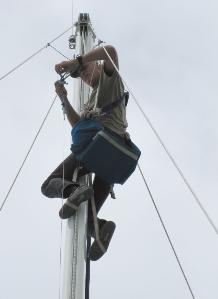
A long way up the mast...David
checks the rigging and plugs in the
wind vane.
checks the rigging and plugs in the
wind vane.
Hanging in the bosun's chair, David
re-attaches the HF radio antenna.
re-attaches the HF radio antenna.
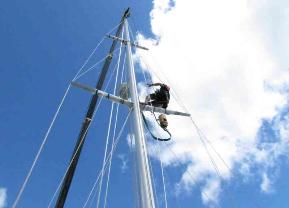
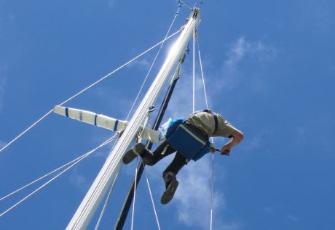
He spent a total of 2-1/2 hours up the mast checking,
tuning and re-attaching. Above, he adjusts the angle
of the top spreader. He later attached spreader boots
to prevent chafing.
tuning and re-attaching. Above, he adjusts the angle
of the top spreader. He later attached spreader boots
to prevent chafing.
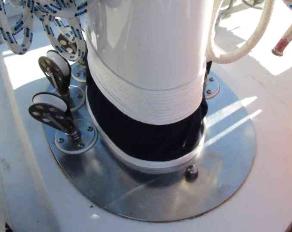
The mast boot surrounds the mast and keeps
water from dripping down the mast to the
salon below. First attempt was not successful
and it had to be done again.
water from dripping down the mast to the
salon below. First attempt was not successful
and it had to be done again.
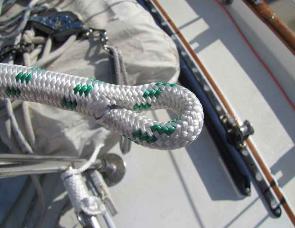
We purchased all new line for halyards and
sheets. Each line end had to be whipped to
prevent fraying or, in the case above, spliced to
allow a shackle to be hooked on.
sheets. Each line end had to be whipped to
prevent fraying or, in the case above, spliced to
allow a shackle to be hooked on.
Once the mast was complete, the
boom needed to be re-rigged.
boom needed to be re-rigged.
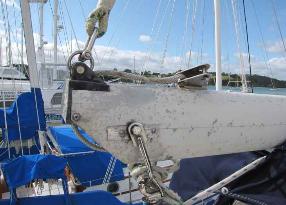
Boom before...
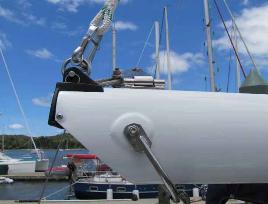
Boom after...WOW!